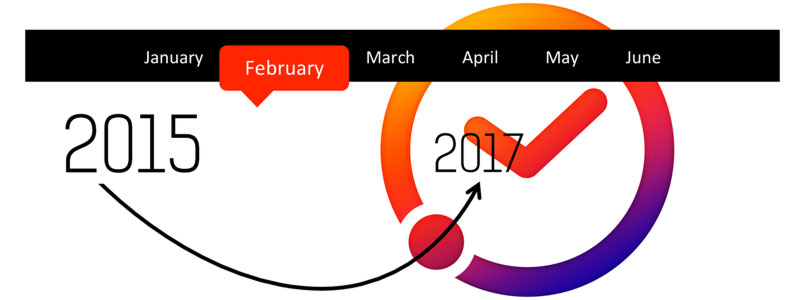
Timelines are useful for showing how events develop over time. But when a timeline spans many years or contains many events, trying to squeeze everything onto one slide can quickly make it difficult to present.
The audience sees all the dates, milestones and supporting information at once, even though you may only be talking about one part of the timeline. An alternative is to let the timeline unfold across several slides. Instead of showing everything at once, each slide concentrates on a particular period or milestone while maintaining enough visual reference for the audience to know where they are in the overall timeline. This gives the presenter greater control over what the audience sees and when they see it.
Start with the purpose of the timeline
Before deciding how the timeline should look, ask:
Why does the audience need to see this timeline?
A company’s history might span 30 years, for example, but the presentation may only need to explain how its products evolved. A project timeline may contain dozens of activities, but perhaps the purpose of the presentation is to explain the major decisions that brought the project to where it is today.
A clear objective helps you narrow a potentially complex timeline into a more focused sequence. The objective isn’t necessarily to document everything that happened. It is to select the events that help the audience understand what happened and why they matter.
Select the milestones that tell the story
Once the purpose is clear, identify the information that will help you tell that story. Depending on the timeline, this might include:
- important dates;
- major events or activities;
- short descriptions;
- charts or data showing achievements;
- photographs of significant moments;
- names of important people;
- decisions or turning points.
But collecting the information doesn’t mean that everything needs to appear in the presentation. Look for the milestones that move the explanation forward. Some events may need an entire slide. Others might need only a date and a short description. Less important details can be omitted or kept in supporting material.
The timeline becomes easier to understand when the audience can distinguish the important milestones from the historical detail.
Don’t squeeze the entire timeline onto one slide
A common approach is to create one long horizontal timeline and fit every event onto it. That can work when there are only a few milestones. But as more information is added, the dates become smaller, descriptions become shorter and everything begins competing for space. More importantly, the audience can see information that the presenter hasn’t reached yet. While you are explaining what happened in 2018, they may already be reading about 2022.
Instead, divide a longer timeline across several slides. Each slide can then give the current event enough space for photographs, data, descriptions or other supporting information without forcing everything into a single crowded layout. This isn’t simply about making the information larger. It allows you to control the sequence in which the audience receives the information.
Give the audience a time reference
When a timeline is divided across several slides, the audience still needs to know where they are in the overall sequence. One simple solution is to use time tabs. These might represent years, months or specific dates depending on the scale of the timeline. Keep the tabs in a consistent position from slide to slide and visually indicate the period currently being discussed.
The time tabs now perform two jobs. They show where the audience is in time, and they provide a consistent visual reference as the presentation moves from one slide to another. The audience doesn’t have to reconstruct the chronology every time a new slide appears. They already know where they are.
Let the timeline unfold
This is where spreading the timeline across several slides becomes particularly useful. Instead of asking the audience to absorb the complete history at once, reveal the timeline as you explain it.
One slide introduces an event. The next moves the audience to another point in time. Another may introduce a photograph, chart or important achievement. The presentation gradually builds the timeline in the same sequence in which the presenter explains it.
This is a form of progressive disclosure. You give the audience the information they need at that moment while keeping enough context for them to understand how it relates to what came before. The presenter controls the pace, and the audience follows the progression.
Keep visual continuity from slide to slide
Dividing a timeline across several slides doesn’t mean designing each slide independently. The slides should still feel like parts of the same timeline. Keep important reference elements consistent:
- the position of the time tabs;
- typography;
- colours;
- timeline scale or direction;
- placement of recurring elements.
Then change the information that needs the audience’s attention. This creates continuity as the presentation moves forward. The audience doesn’t need to relearn the layout on every slide; they can concentrate on what has changed.
A useful way to think about this is:
Keep the timeline stable. Move the audience’s attention.
Timeline slide examples to present timeline information
The following slides show how this approach can work in practice.






Move through the examples in sequence rather than looking at them as unrelated slide designs. Notice how the time reference remains consistent while the information changes from one slide to the next. The current period receives the attention, but the timeline itself continues to provide context.
This means the audience always has answers to two questions: Where are we in the timeline? and What should I be looking at now?
That combination of context and focus is what makes the multi-slide timeline useful.
When should you use this approach?
Not every timeline needs several slides. If you only have a few milestones and the audience benefits from seeing the entire sequence together, a single-slide timeline may be the better solution.
The multi-slide approach becomes useful when:
- the timeline spans a long period;
- there are many milestones;
- individual events need explanation;
- photographs, charts or other supporting information need to be introduced;
- the sequence itself is important to the story.
The choice should come back to the purpose of the presentation. Don’t divide a timeline simply because you can. Divide it when doing so helps the audience follow the progression more easily.
Guide the audience through time
A good timeline doesn’t need to show the audience everything at once. Start by deciding what they need to understand. Select the milestones that contribute to that purpose. Give them a consistent time reference, then reveal the events in the sequence in which you want to explain them.
The presentation software itself isn’t the difficult part. This type of timeline can be built using ordinary features in PowerPoint or Keynote. The important decision comes before that:
What should the audience see now, and what should they see next?
Give them enough context to know where they are, then guide their attention through the events one step at a time. Keep the timeline stable. Move the audience’s attention.


